-

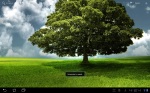
- Pulse icon.
-
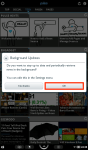
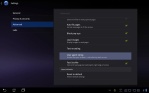
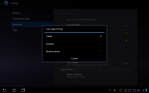
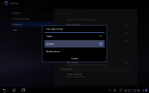
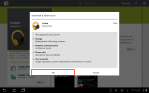
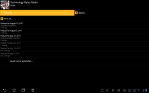
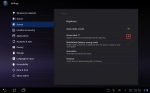
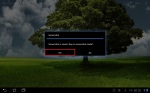
- OK for background updates.
-

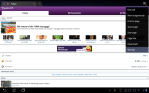
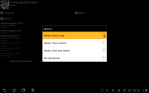
- Settings button.
-

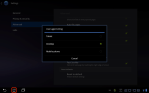
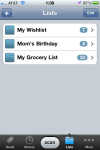
- Editing news “pages”.
-
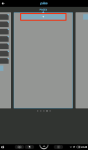
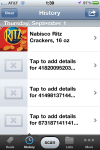
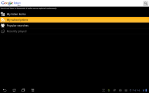
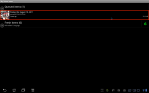
- Tap + button to add a news source.
-

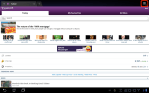
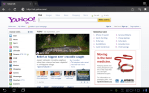
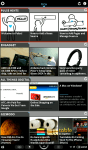
- Featured news sources.
-

- Browsing news providers by category.
-

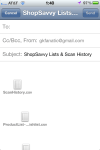
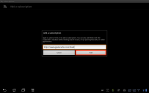
- Google Reader.
-
- Pulse Hints.
Pulse Hints for the Nook Color (stock) is a free easy to use news reader and aggregator.
News aggregators combine multiple news sources from disparate locations for reading from a single site or application. Pulse performs this job admirably and uses a standard news reader interface similar to applications like the Huffington Post, or USA Today applications available on the iPad.
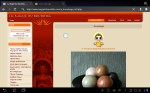
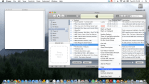
The app by default groups categories of news sources into pages. Examples include the Top news page, Tech news page, etc. You may modify any existing page by adding or removing news sources. Blank pages have also been included by default so that it may be easy to create your own type of specialised news pages tailored to your own interests. For example, you may add political news from your trusted and favourite sources on one page, or create a page containing all of the sport news sources you read avidly. To customise a page tap the Gear icon located at the top left of the screen. Sources on each page are listed and are easily removed by tapping the circled “x” in the top left corner of the item button.
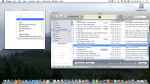
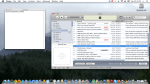
News sources likewise are easily added by tapping the “+” button found at the bottom of each edit page. A source can be found a variety of ways, my favourite approach is to use a pre-categorised list of common pages via the Browse tab. Another tick mark in the “plus column” for Pulse is the feature permitting a Google Reader account to be added as a custom news source on a page.
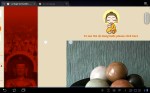
Finally, if editing, creating, modifying, or finding news sources becomes confusing, Pulse includes Pulse Hints items for assistance. Pulse Hints are “news” sources that provide easy to follow directions on how to use and customise the reading experience, and are commonly found at the very top of a page.
Verdict: Search for and install Pulse – a great application available for free from the Nook Store.
Disclaimer: I am not associated or employed by any company producing software reviewed on this site.