-

-
Atomic Web browser.
-

-
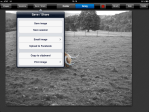
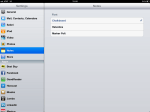
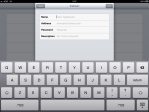
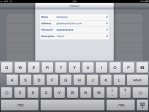
“Gear” (options) menu.
-

-
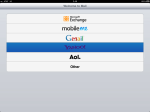
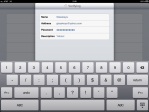
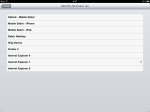
“Identify Browser As”
-
-
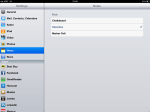
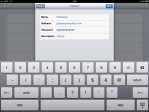
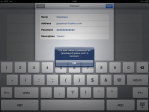
IE 7 selected.
-

-
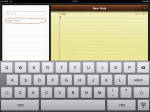
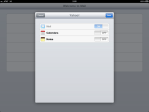
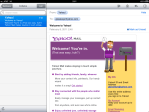
Yahoo! viewed with Safari.
-

-
Same URL using “IE 7” identity.
(To view a larger image with more detailed description tap or click its thumbnail.)
On some occasions, a non-tablet or non-mobile web layout view is required. This is due to web sites that require the use of Internet Explorer for reasons that can only be the result of the illogical, byzantine & troglodytish output of American corporate “design-by-committee” reasoning.
Many of these sites, particularly the web sites of multi-nationals and banks, are the “problem children” of the modern web, notorious for producing mediocre web design, a result of the same type of sound judgements that cause world-wide financial crises.
The following paragraphs demonstrate how to help fight back the powers of the “this site requires flash” headless monster, better yet — headless chicken — and its similarly styled “this site requires Internet Explorer” brethren known as the corporate web site.
To start, this walk-through requires the use of a great browser known as Atomic Web Browser. This is another of the great iPad & iPhone applications. One of the many cool features of the browser, (like tabbed browsing) is that it provides the user the ability to spoof a remote web site into thinking it is dishing its timely, sage content to an Internet Explorer based client or personal computer.
To change this setting in the Atomic Web Browser, tap the Gear icon at top, then the Settings button at the bottom of the menu. In the next menu tap Identify Browser As that is located in the General Settings section. Next lies the (not so) difficult task of picking “Internet Explorer 7” in the list of browsers. Finally, tap the Settings, then Close buttons found at top to finish and return to the main browser window.
The browser identification can be restored to your original identification when you are finished using the “problem site”.
Incidentally, Atomic Web Browser also supports Ad Block — another reason to “check it out”.
Disclaimer: I am not associated with any software mentioned on this site.