-

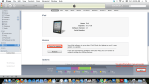
- Open iTunes
-

- Tap podcasts.
-

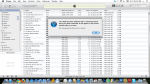
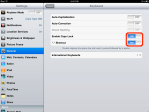
- Tap Free, then Get Episode.
-

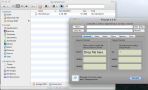
- Download begins.
-
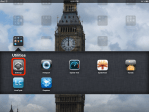
- Video app.
-
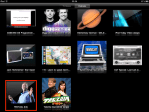
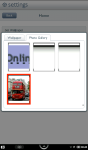
- Select Podcasts tab & tap video.
-

- Tap the play button.
-

- Viewing podcast.
-

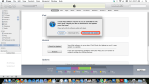
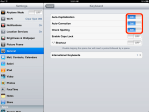
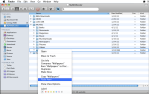
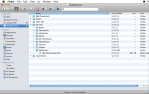
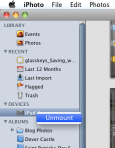
- Deleting a podcast video.
(To view a larger image with a more detailed description tap or click a thumbnail.)
Many people I have met that own iPads are unaware of the vast selection of free video podcasts that are available on the iTunes store. Today’s tip will show you how to explore the universe of video podcast content available on iTunes.
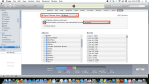
Start by opening the iTunes application, then tap the podcast button at the bottom of the screen. You may then use the Search function at the top right of the screen to search for podcasts of a particular type. After you select a podcast, the price will be listed along with the title for each episode. The video podcast we have picked is free (most are), so tap the grey button to select, then tap the green Get Episode button to commence the podcast download.
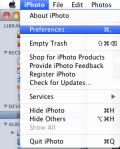
After the podcast is finished downloading, close iTunes and open the Videos application. Tap the Podcasts button at the top centre of the screen, then tap the podcast video you wish to view. Whilst viewing the video, the screen may be tapped to show the standard video controls or you may tap the blue Done button to return to the video selection screen.
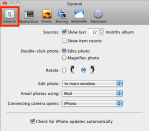
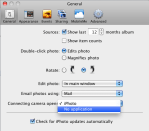
To delete a video, tap and hold a video and the “circled X” button will appear. Tap the circle and a dialog will appear confirming the decision the delete the video.


I have been working on two new posts & they both have taken longer to finish than I initially anticipated. The first tutorial will explain how to view your purchased DVD content on the Nook, and the second will be a related topic on how to accomplish this for the iPhone and iPad. Both tutorials will show how to do this using free and open source software — I see many people taken advantage of by purveyors of video conversion software for the Nook, iPad and iPhone. So look for the Nook post tomorrow (10 April 2011).
Share this:
Leave a Comment
Posted in Commentary...