
|
|
|
||||
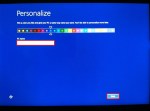
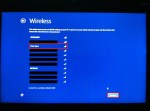
| Starting Install. | Enter PC name. | Select wireless connection. | ||||
|

|
|
||||
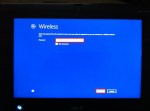
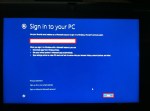
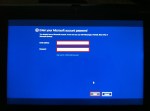
| Enter wireless password. | Use Express Settings. | Sign in. | ||||
|
|

|
||||
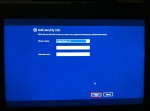
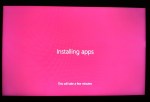
| Enter account details. | Optional security info. | Installing apps. | ||||
|
|
|
||||
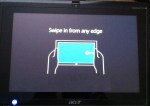
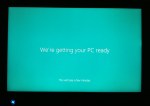
| Usage illustration. | Getting ready… | Installing apps. | ||||
|
||||||
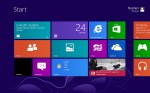
| Windows 8! | ||||||
At the end of the first part of this series, installation of the Windows 8 upgrade on a Acer W500 Iconia Tab had just began. This part of this series covers the installation options chosen and how to properly clean up remnants of the last Windows image after installation is done.
Most of the installation options are fairly straightforward, as most of the effort is used to do the following:
1. Establish a wireless connection.
2. Create machine name.
3. Create and sign-in with a Windows Live account.
This entire process is shown in detail in the screen shots above, but the most important step is freeing precious space after installation is finished.
Open the Performance Information and Tools app found via the Settings Charm and Control Panel:
Double tap or click the Open disk cleanup link:
Finally, look for large sizes in the Files to delete box, be sure to scroll through the whole list, trust me – it is easy to overlook.
As this screenshot shows, I was able to free over 9 Gigabytes of space by ticking a single box named Previous Windows installation(s). Tap or click the OK button after selecting the files to delete. You can also Clean up system files before clicking the OK button:
Enjoy your new Windows 8 tablet upgrade!


Leave a comment