-
- iPhone Settings
-
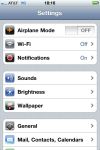
- Wi-Fi is off.
-
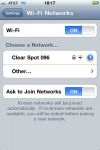
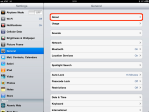
- Turn Wi-Fi On.
-
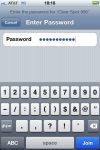
- Enter password.
-

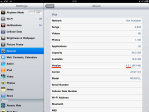
- Successful connection.
-

- Current network.
(To view a larger image with a more detailed description tap or click its thumbnail.)
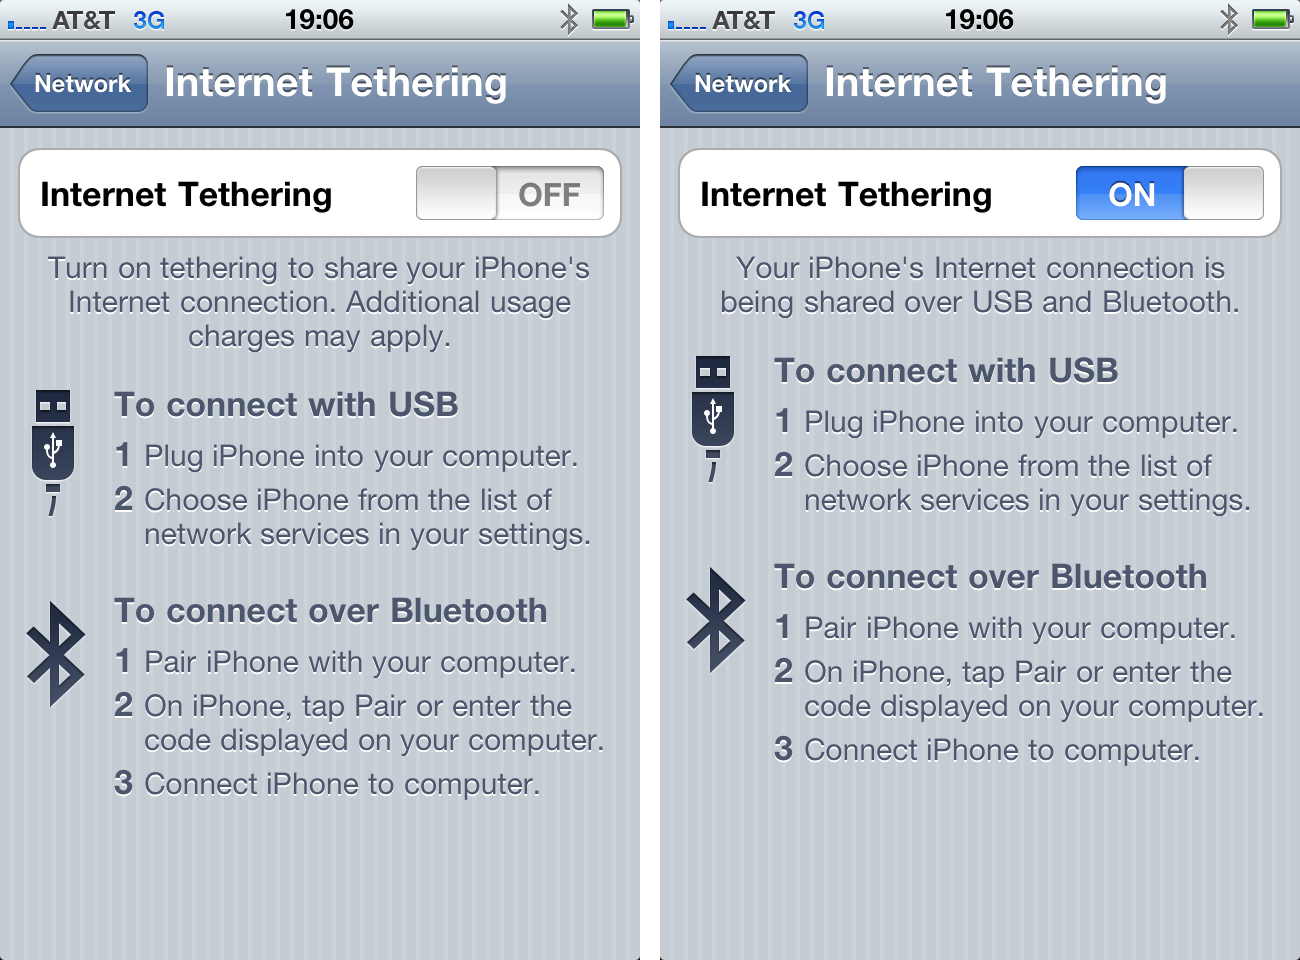
This post is for those that may no longer want to use 3G as their primary data connection, and wish to use home Wi-Fi or occasional use of a Wi-Fi network at a local coffee shop. The following walk-through and screen shots above will help you on your way.
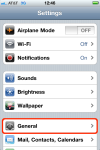
First, open the Settings application, and tap Wi-Fi. The Wi-Fi Networks screen appears, there you may turn the Wi-Fi slider to the On position. The iPhone will then look for Wi-Fi network connections that are available near your present location. These are listed and displayed in the Choose a Network… section of the Wi-Fi Networks screen. (In the screen shots above, I selected the “Clear Spot” network.)
After the network is selected enter your Password in the field provided. (If you bollocks up the password, a message will display, tap the Dismiss button and retry entry of the password) Tap the blue Join button when password entry is complete. A successful password entry means you have joined the network and a blue tick mark (check mark) will be aside your network name in the Choose a Network… section. You are now using Wi-Fi and may click the Home button to exit Settings.
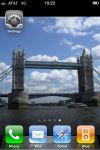
Finally, if you wish to view your current Wi-Fi network, return to Settings and the name will display on the first screen next to Wi-Fi.


I have been experimenting with some jailbreak free ways of allowing Safari to download video content & a work around for the annoying Safari refresh behaviour.
Share this:
Leave a Comment
Posted in Commentary...