If you have ever been chagrined that you cannot use a USB memory stick storage with your iPad or iPhone, this tutorial will help you alleviate your annoyance. Although you will not be able to use a physical memory stick, Dropbox can help provide the storage you need accessible from any device completely free, effectively replacing the need for USB sticks. Dropbox gives you an offline storage area that can be used to upload, download, or share publicly (if you desire) any files you could place on a normal USB memory stick device. It can be used with the iPad, iPhone, Android tablets, & other phones. It also works with desktop and laptop computers such as the Macintosh, Linux computers, and Windows PCs.
To start using this free offline storage service first register for a free Dropbox account (Read the full post for the benefits of using referral links):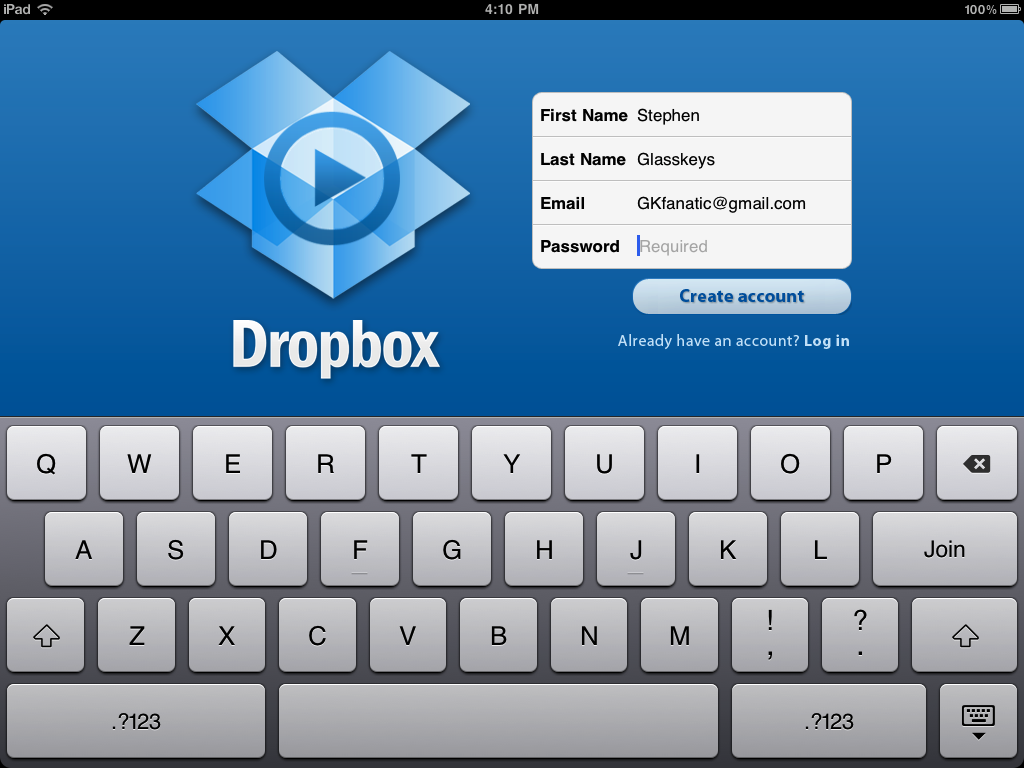
Download the free Dropbox application for the iPad and iPhone from the App Store:
Open the Dropbox application and read the Intro and Getting Started documents: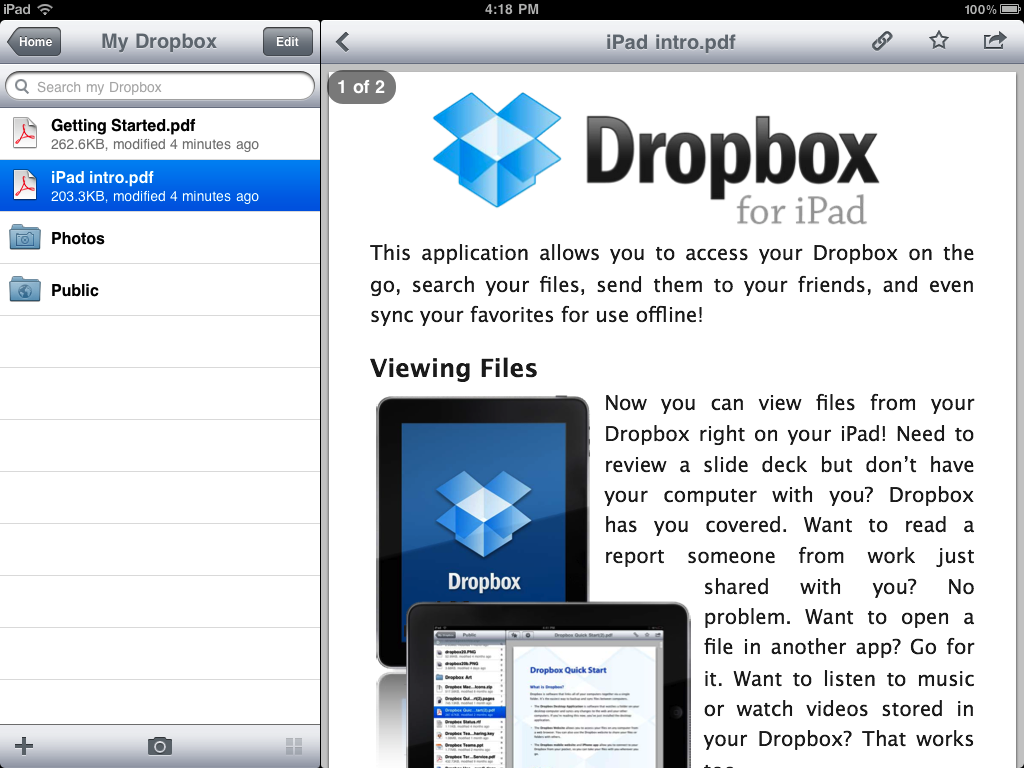
When done reading, tap the Edit button at top: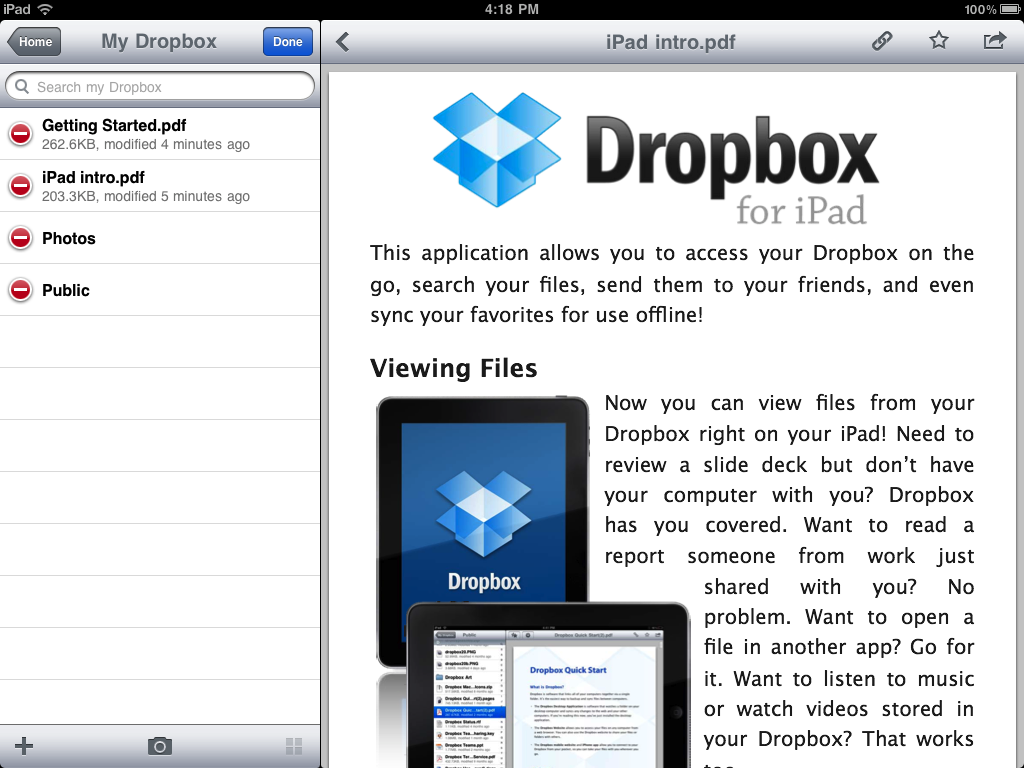
Tap the small red circle, then the Delete button for permanent removal of a PDF file: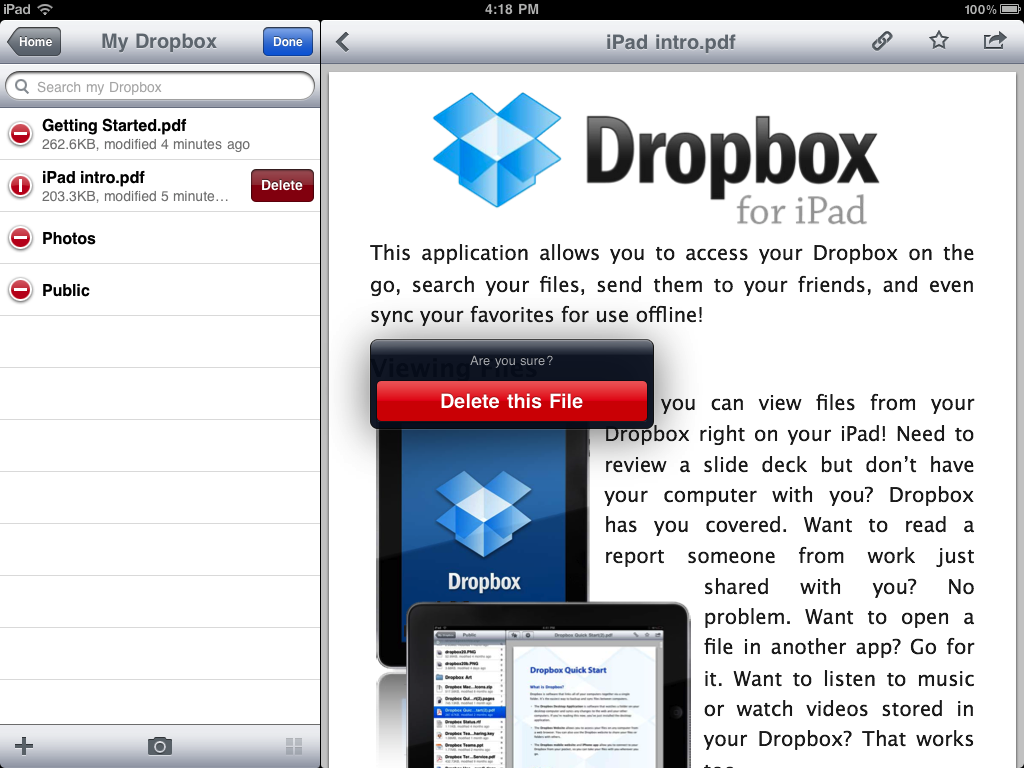
Tap the Home button to view the main menu: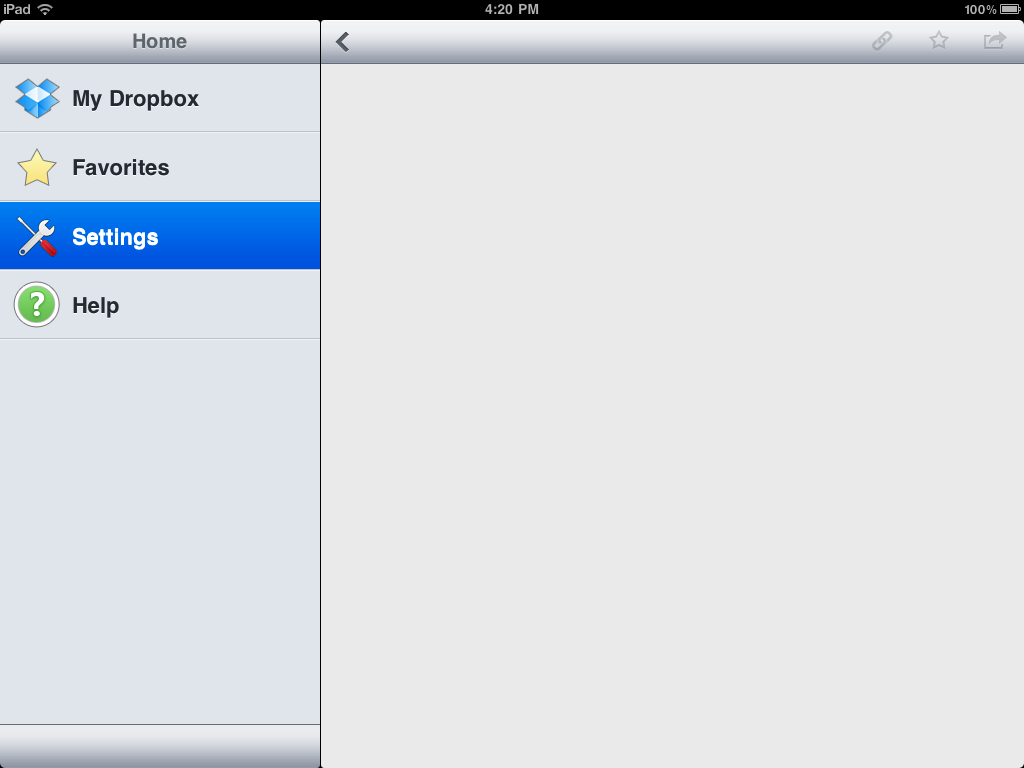
Tap Settings and Upload Quality: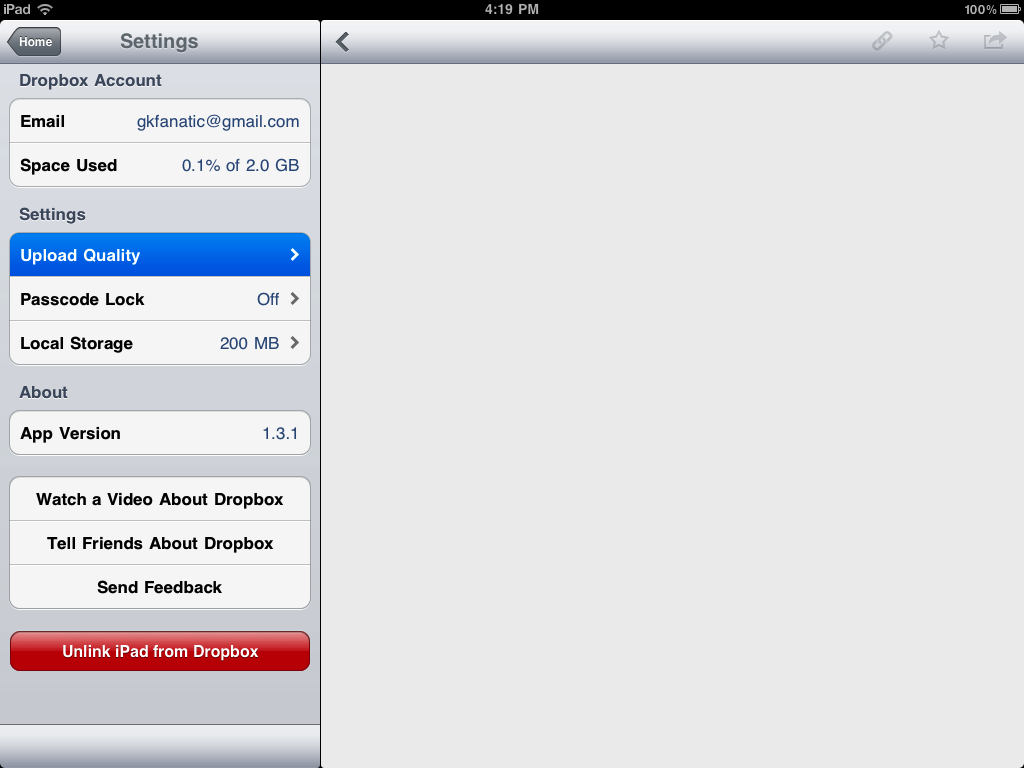
Move the Photo Quality slider all the way to the right if you desire your photo uploads to be the highest quality possible. The same also applies for the Video Quality setting. Although these settings consume more storage space, they keep photo and video at a state better suited for sharing and archival uses.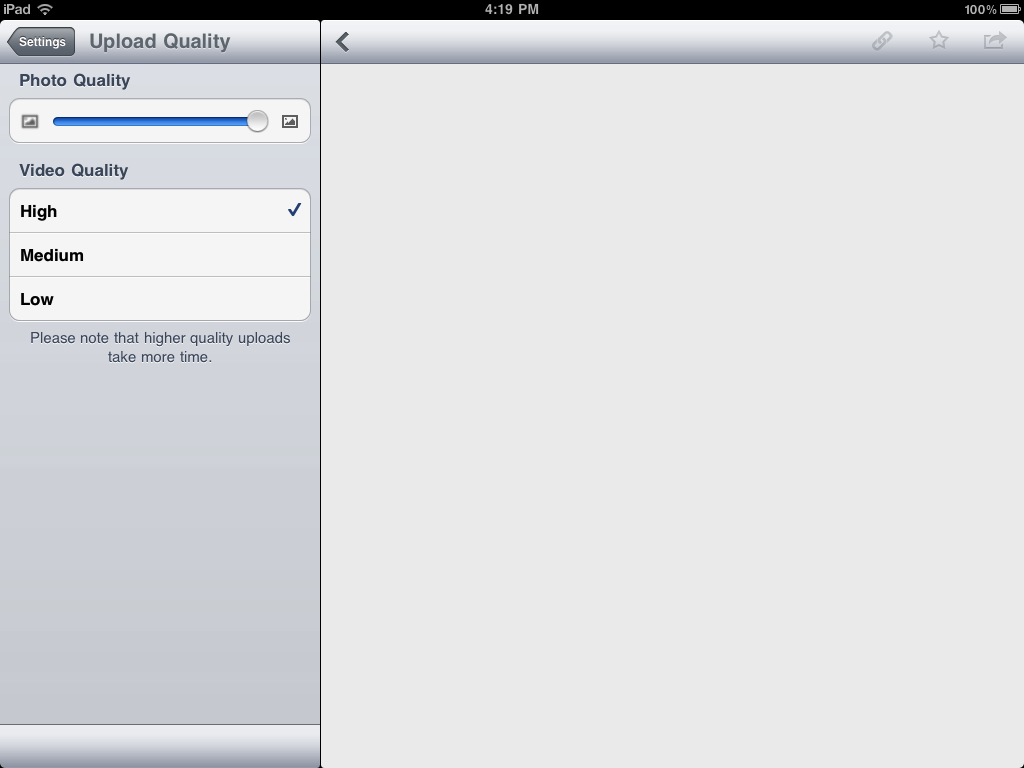
Return back to the Settings screen and select Local Storage: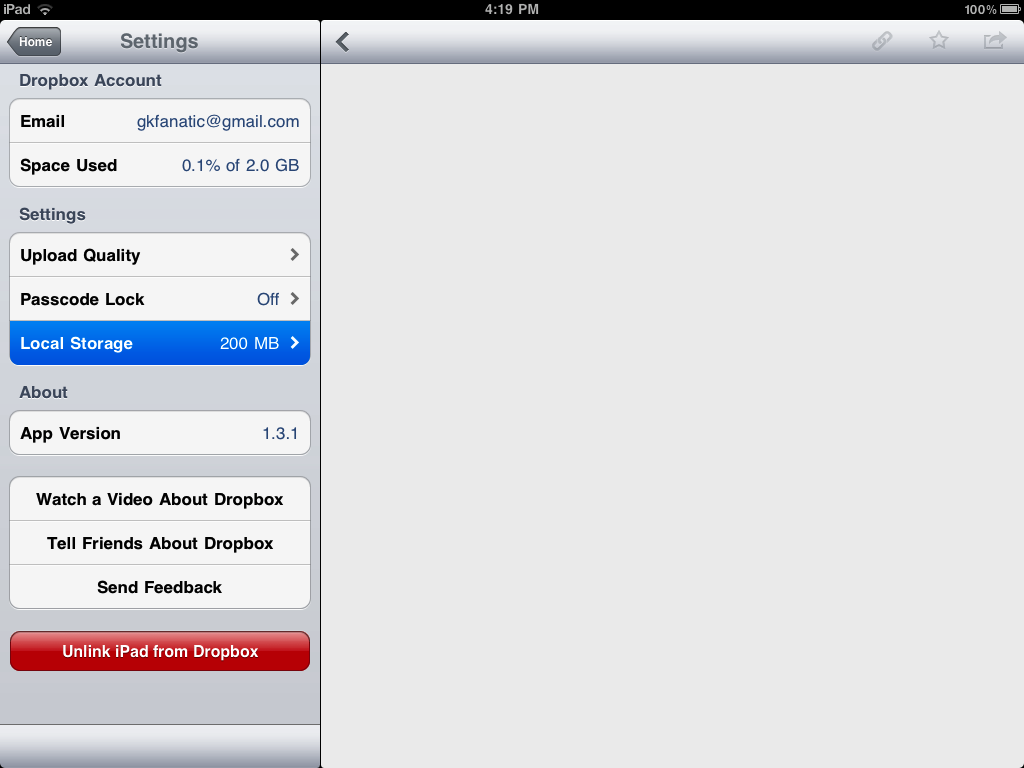
Local Storage settings allow you to specify the amount of “memory space” you wish to devote on your iPad or iPhone to Dropbox. A higher amount makes accessing recently viewed content faster, reducing the need for downloads. I selected the 1 GB local storage option, which is suitable for my needs: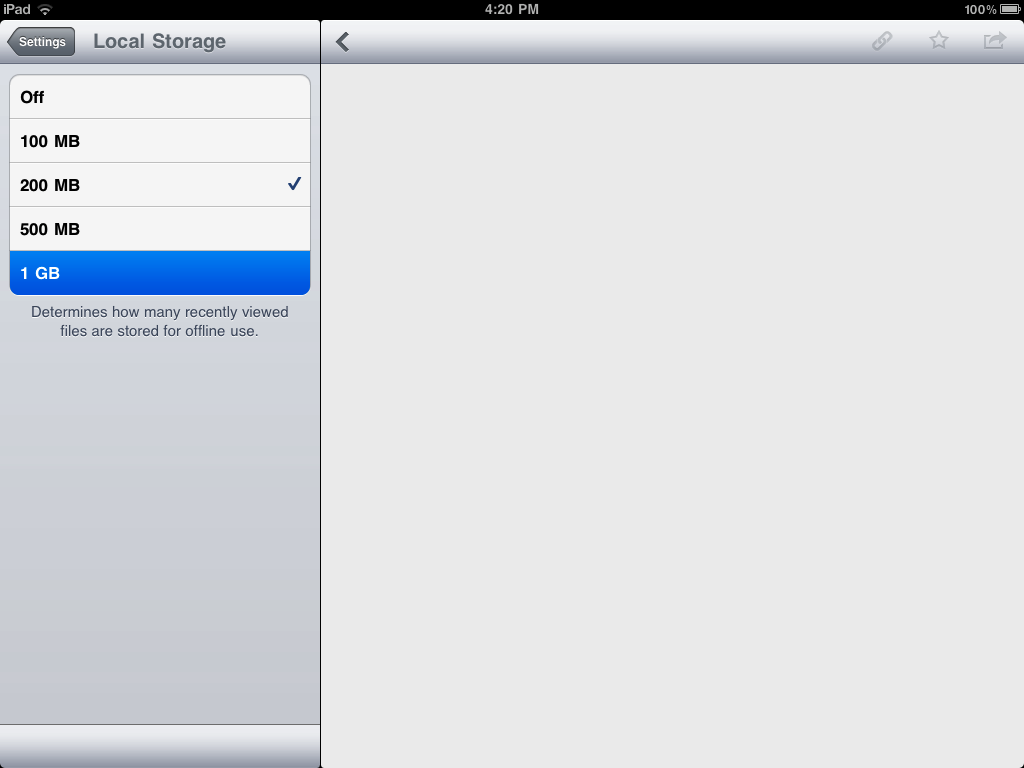
To see an example of using Dropbox for photo storage, return to Home by tapping the Settings and Home buttons located on the top left corner of the screen. On the Home screen, tap the My Dropbox option: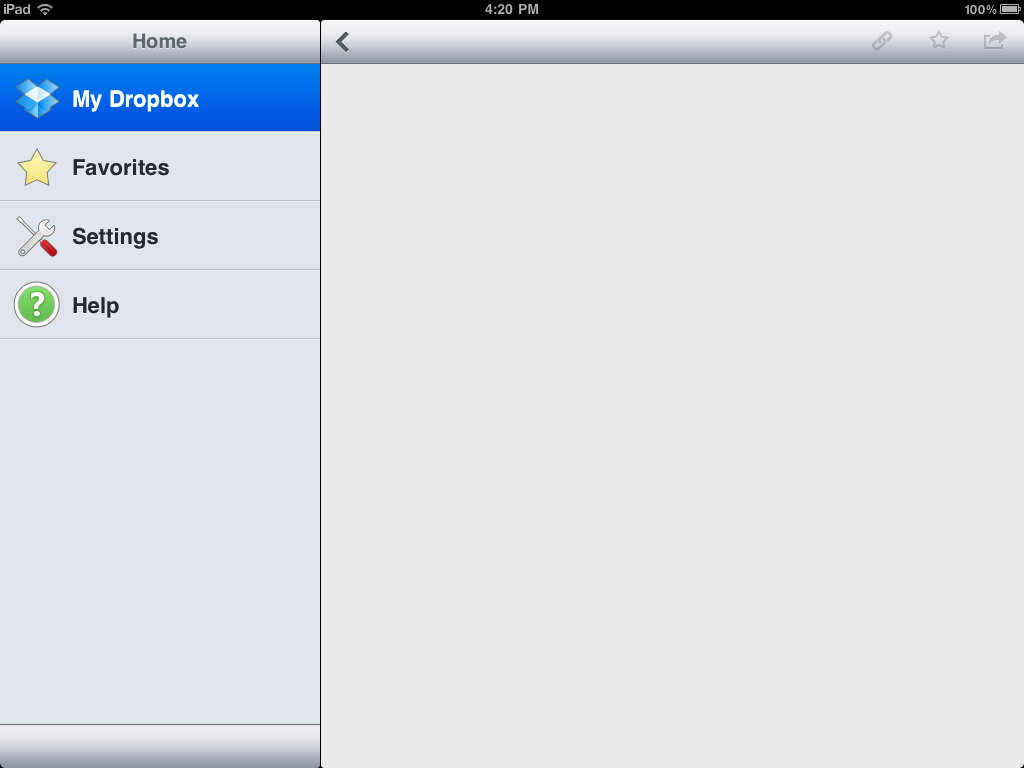
Tap the Photos folder located at the top of the list under My Dropbox: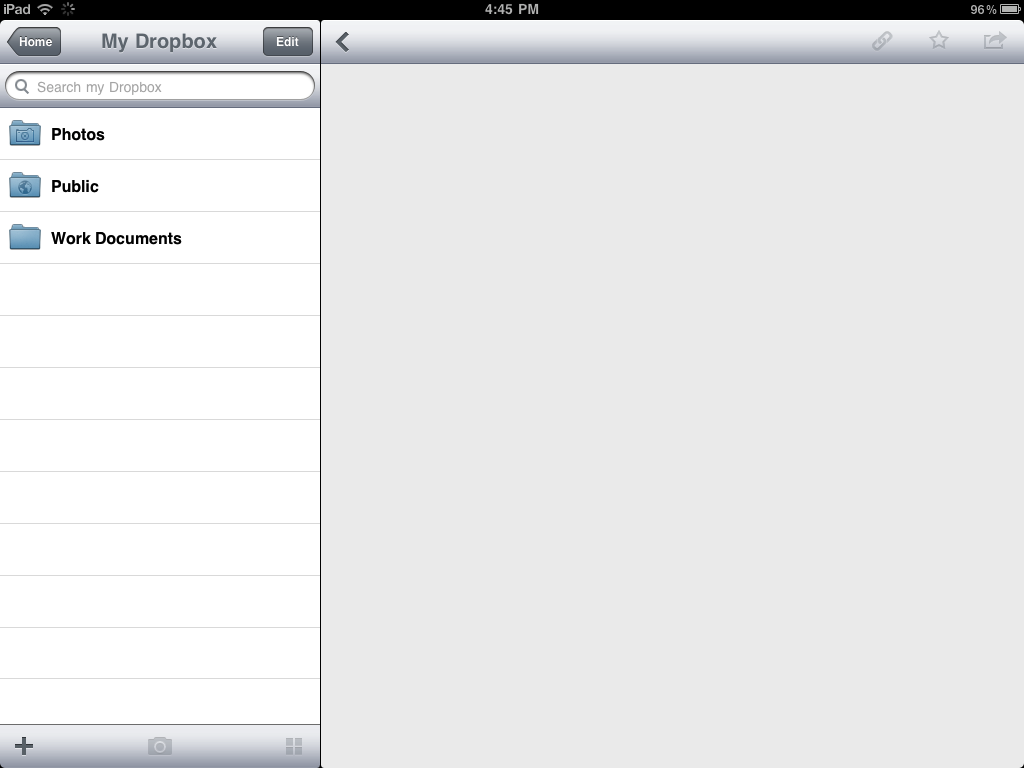
Inside the Photos folder, tap the small Camera icon located at the bottom of the list. I tapped the Existing Photo or Video option to choose an image from a photo album on my iPad.
Appearance of Photos folder after selection has been made:
The Dropbox site also offers helpful information to new users. You may earn 250MB of storage for completing five items in a checklist, and an additional 250MB for you and each new user if they install Dropbox from a referral link (see image below).
For purposes of full disclosure and as an example, if you sign up using the Dropbox account link I placed above and installed Dropbox we both receive an additional 250MB added to our accounts gratis (max size 8GB). NOTE: I do not receive money for this, nor am I employed by Dropbox. Dropbox gives this option to everyone.
Continuing on – additional options are also available by clicking the Account link at the top of the main page: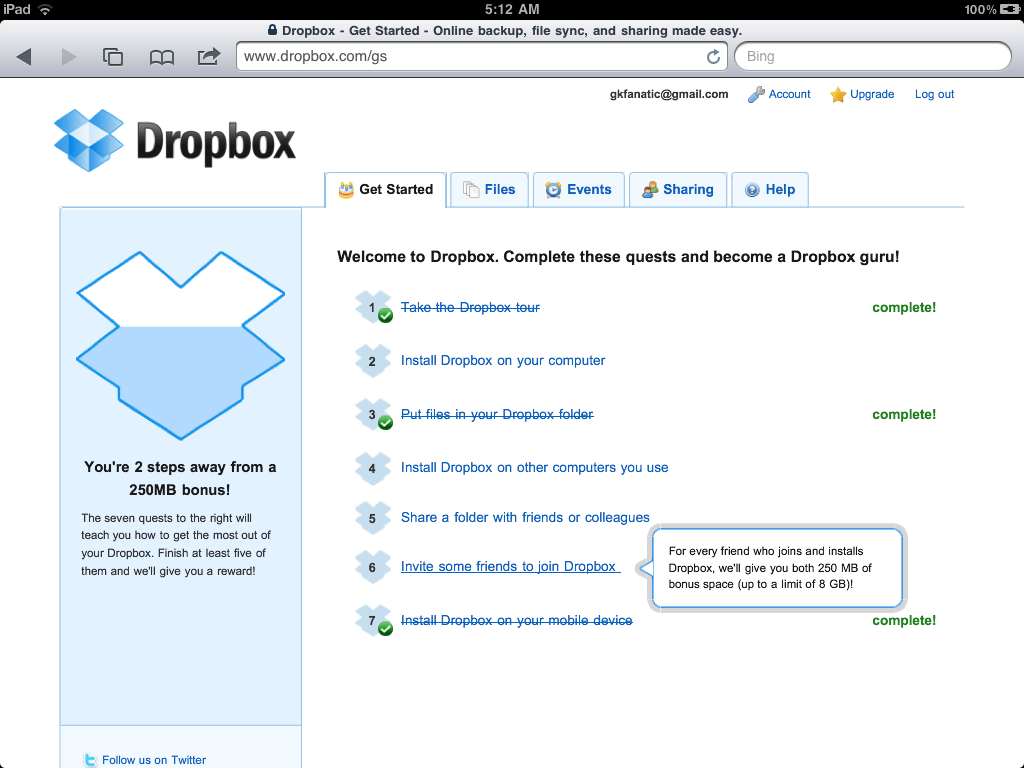
The Account Info tab displays the amount of space currently available: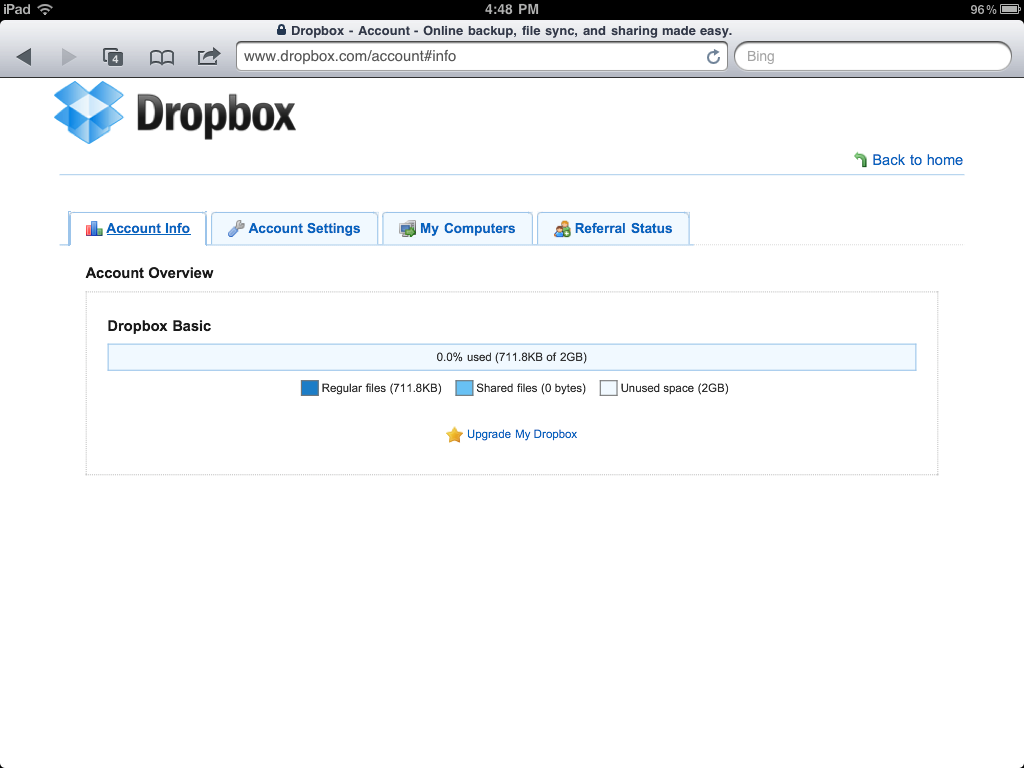
As its name implies the Account Settings tab permits you to change different account settings, such as password, preferences and email notifications.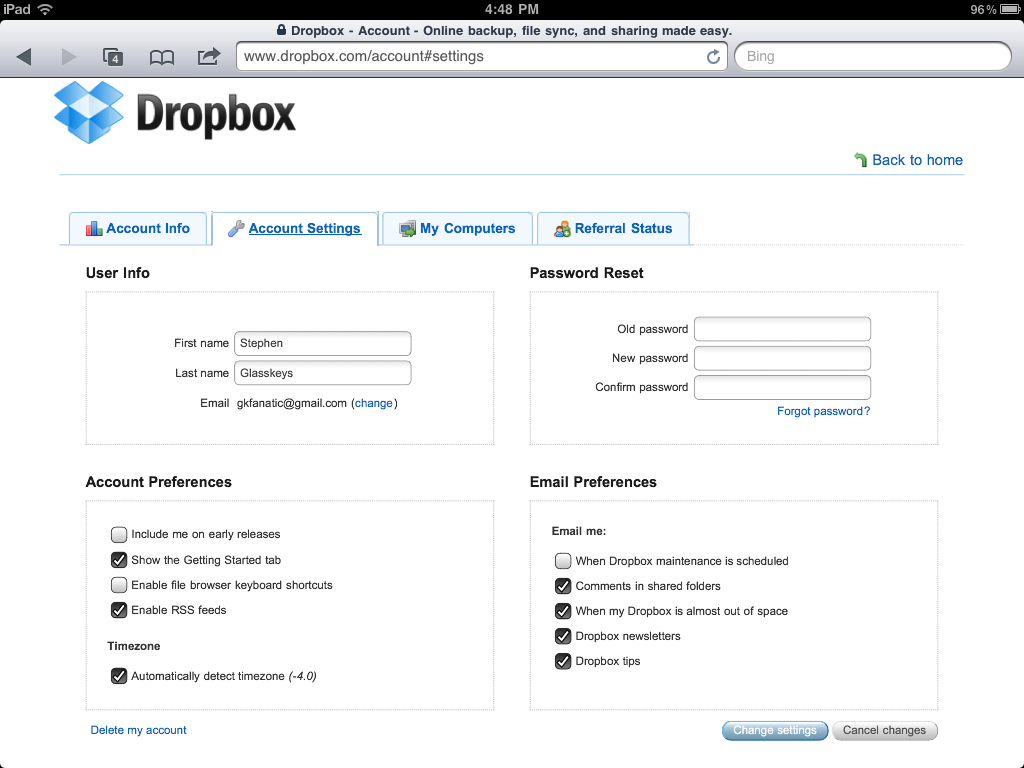
Dropbox also permits you to have an account with sizes of 50GB or 100GB with payment options by month or year: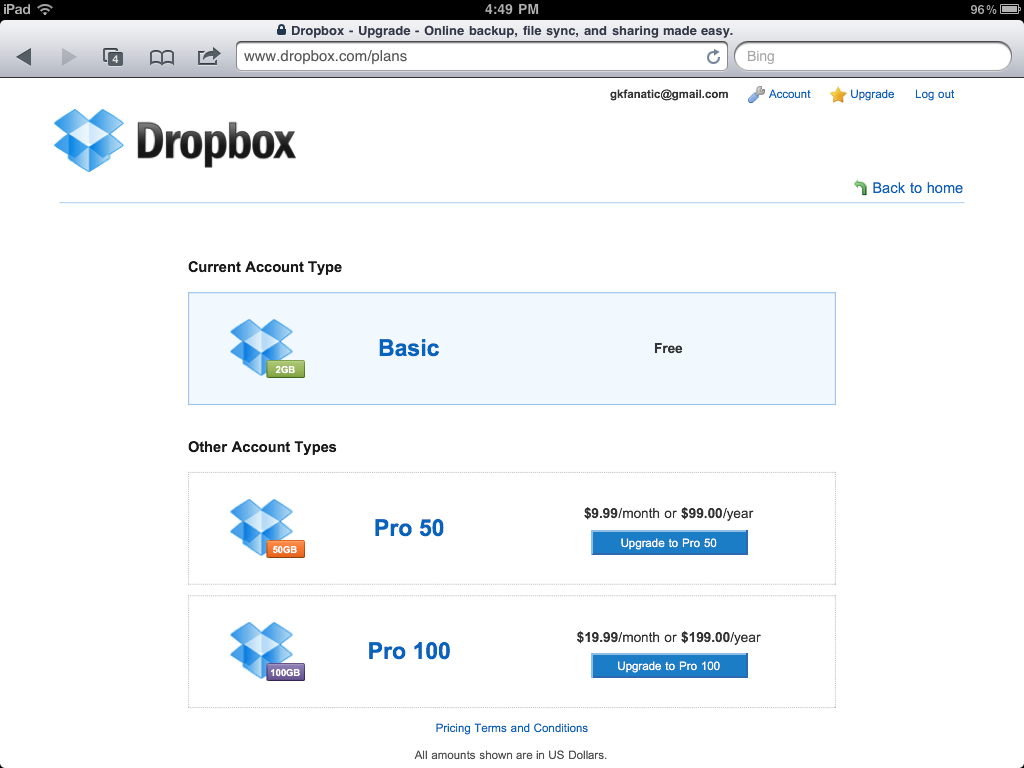


Leave a comment